
In 2014, I demonstrated my bread recipe in a workshop in the Local Food Wanaka Great Apple Drive and shared a lot of sourdough with the community. I wonder how many people are continuing making their bread? Let me know if you do! I definitely do it all the time, we haven’t bought bread for many years. That’s less plastic, less cost, more healthy and so easy.
Over the years, I have adapted my recipe, making it easier and faster, it is now more liquid, no kneading required. So I share it again.
Ingredients for 2 breads
- Sourdough
- 900gr flours (a variety of organic white and whole meal wheat, spelt, rye and/or buckwheat, or any other, just experiment! (about 7 glasses)
- 900ml of water (about 7 glasses too)
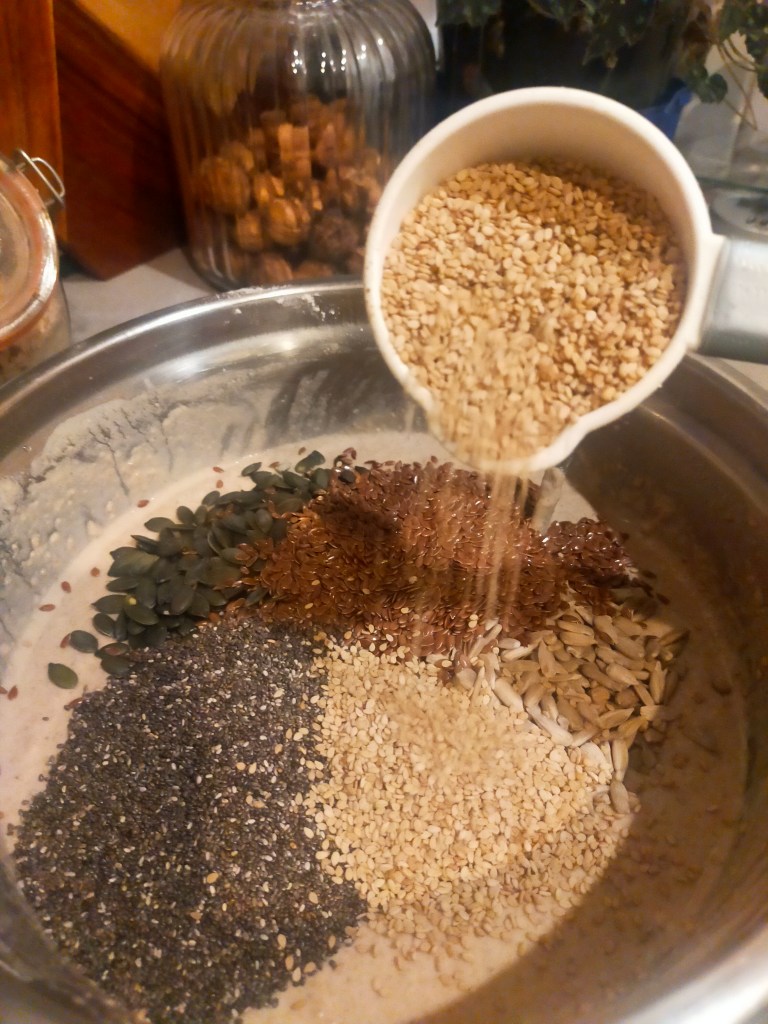
- Seeds: I put a measure (75gr) of each linseeds, sesame, chia, sunflowers, pumpkin.
- Salt (just a pinch of non-refined sea salt)
Kitchenware
- 2 long cake pans
- Large salad bowl
- Strong spoon
- A jar with lid
- A tray that holds two cake pans
- Baking paper and tea towels
How I make our bread, ingredients, quantities and processes are to be adjusted to your preference, your bakeware size and moisture/temperature conditions.
I make our bread in the evening, during the advertisings on TV, it takes 5 ad breaks to complete the breads, cleaning included. The breads rise overnight in the hot water cupboard and I bake the batch the next morning.
The day I am going to make bread, I pull the sourdough jar out of the fridge, half fill with water, keep at ambient temperature. Twice during the day, I add a spoon of flour and stir, this wakes the sourdough. In the evening, it usually looks bubbly, ready for making bread.
Ad break 1: I pull out of the pantry all ingredients and utensils and heat 2 cups of water in the kettle.
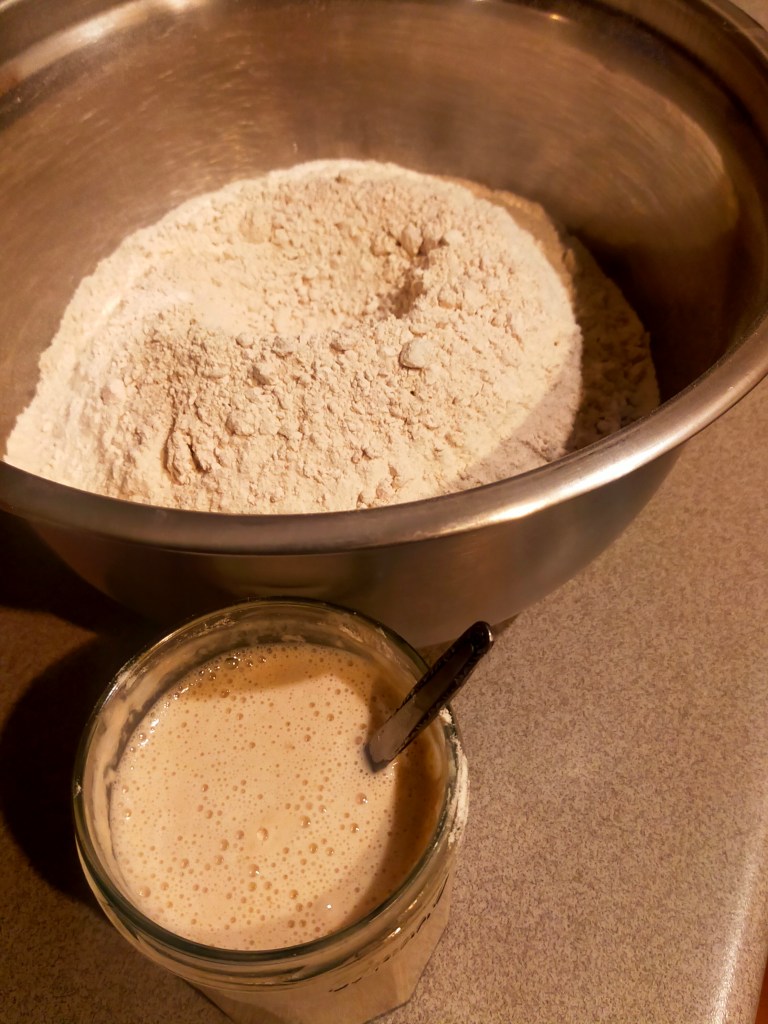
Ad break 2: Fill up the kettle with cold water (to have about a liter of lukewarm water). I put 7 glasses of different flours in the large bowl and put the flours away.
Ad break 3: I do a well in the flour and pour in the sourdough. To rinse the sourdough out of the jar, I fill it up with lukewarm water, stir and pour into the large bowl, twice. This usually covers the flour. I start stirring, slowly initially to avoid spills. I cover the mix again with lukewarm water, stir again, slowly then thoroughly. The dough is still liquid yet a bit hard to stir (see video for consistency).
Ad break 4: IMPORTANT STEP : I keep a big spoon of sourdough aside in a clean jar, put the lid on (not screwed) and store at the top, back of the fridge. (Don’t forget or you loose your sourdough starter!)
THEN, I add seeds and salt in the dough, stir well and put seeds and salt away.
You can also use walnuts, hemp hearts or seeds you like. Some friends add herbs (cumin is a favourite) and oils “for the texture”, I don’t. Once again, experiment!
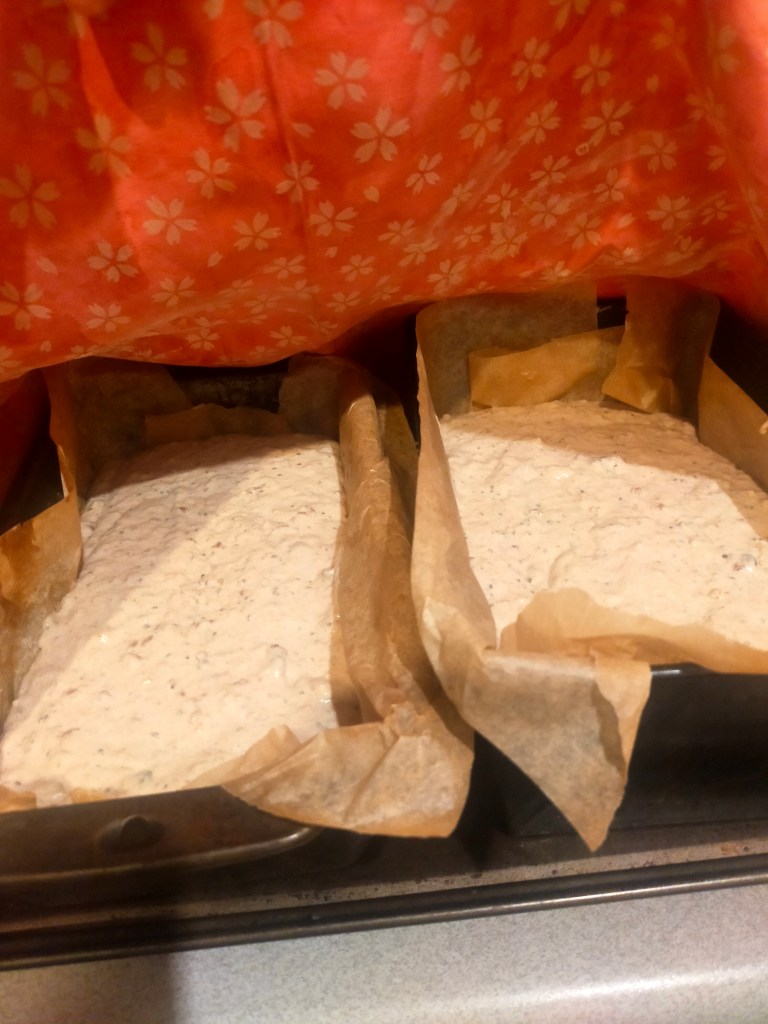
Ad break 5: I fold baking paper into 2 long cake pans, set on the tray. I pour the liquid to a maximum of 2/3 of the pan. That’s the most tricky bit.
I cover with a tea towel and carry the tray in the hot water cupboard where it will rise over night.
I immediately soak the bowl and spoon.
Ad break 6: I clean the bowl, just with water and my hand. I don’t use sponge or brush at is will be full of dough, hard to clean off. Don’t let the dough dry in the bowl or it will be hard to remove.
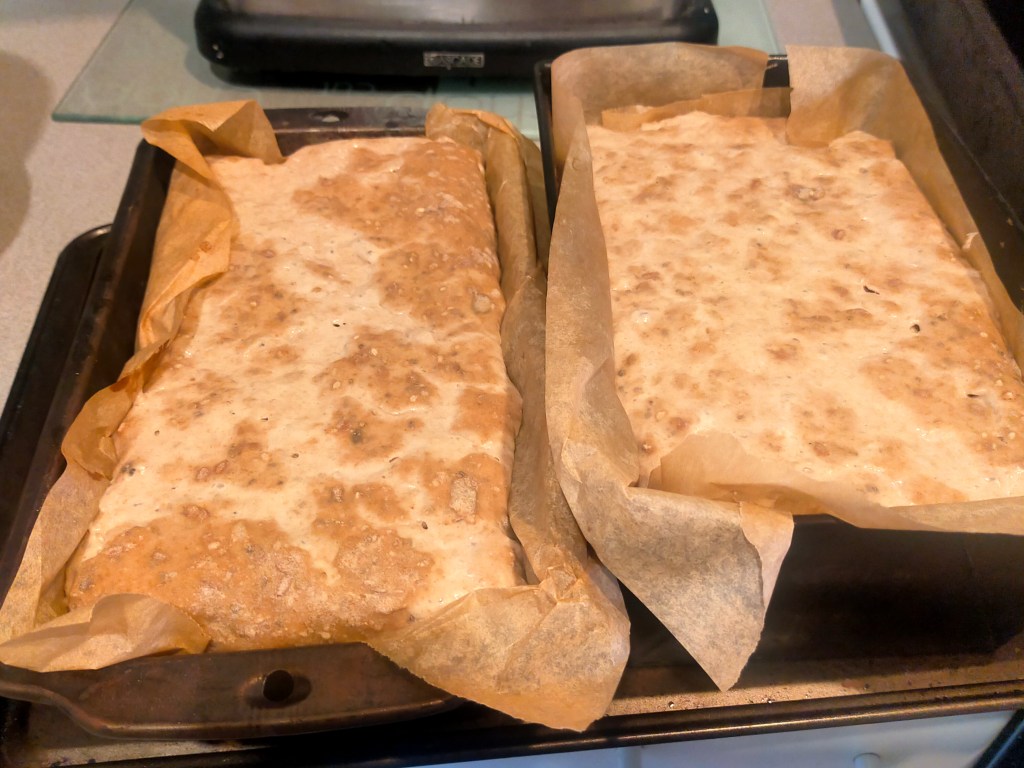
In the morning, I preheat the oven at 180 degrees. Out of the hot water cupboard, the breads have risen and now fill the pans. I place them immediately into the hot oven.
Bake for 1 hour, 180 degree Celsius with fan.
I always bake during this time to benefit from the hot oven. For example, muffins can be placed in the oven 20mn before the end of the hour.
When the 1 hour timer rings, I take the bread pans out of oven and let to cool down on a board. When they are not too hot, I pull the breads out of the pans for the moisture to dissipate.
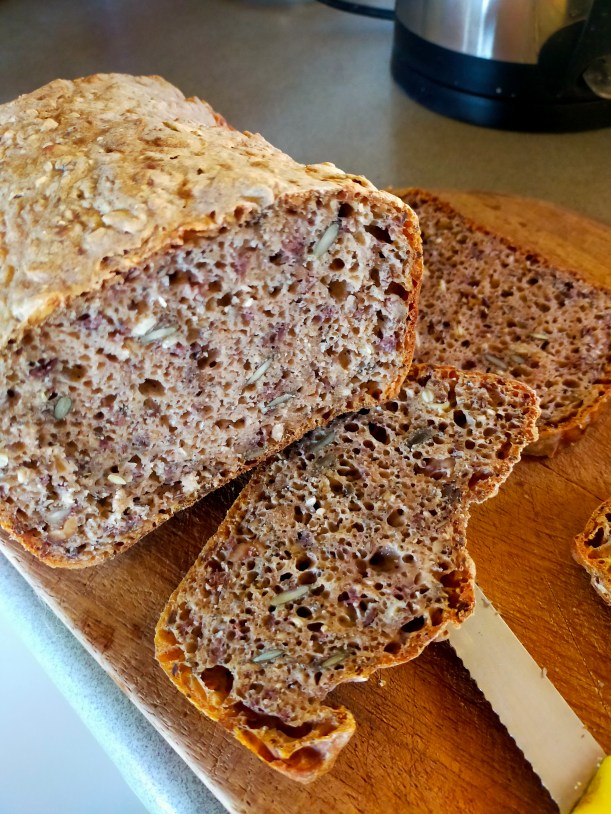
When cooled, I pull the bread out of the paper (if careful, I can keep the paper for next time) and into a tea towel.
With our house conditions, it works best to keep the bread in the towel on a shelf in the pantry the first day. The next day, I place the bread in its towel inside a plastic bag (used and reused again and again) and in the fridge.
This keeps for nearly two weeks!

Enjoy!
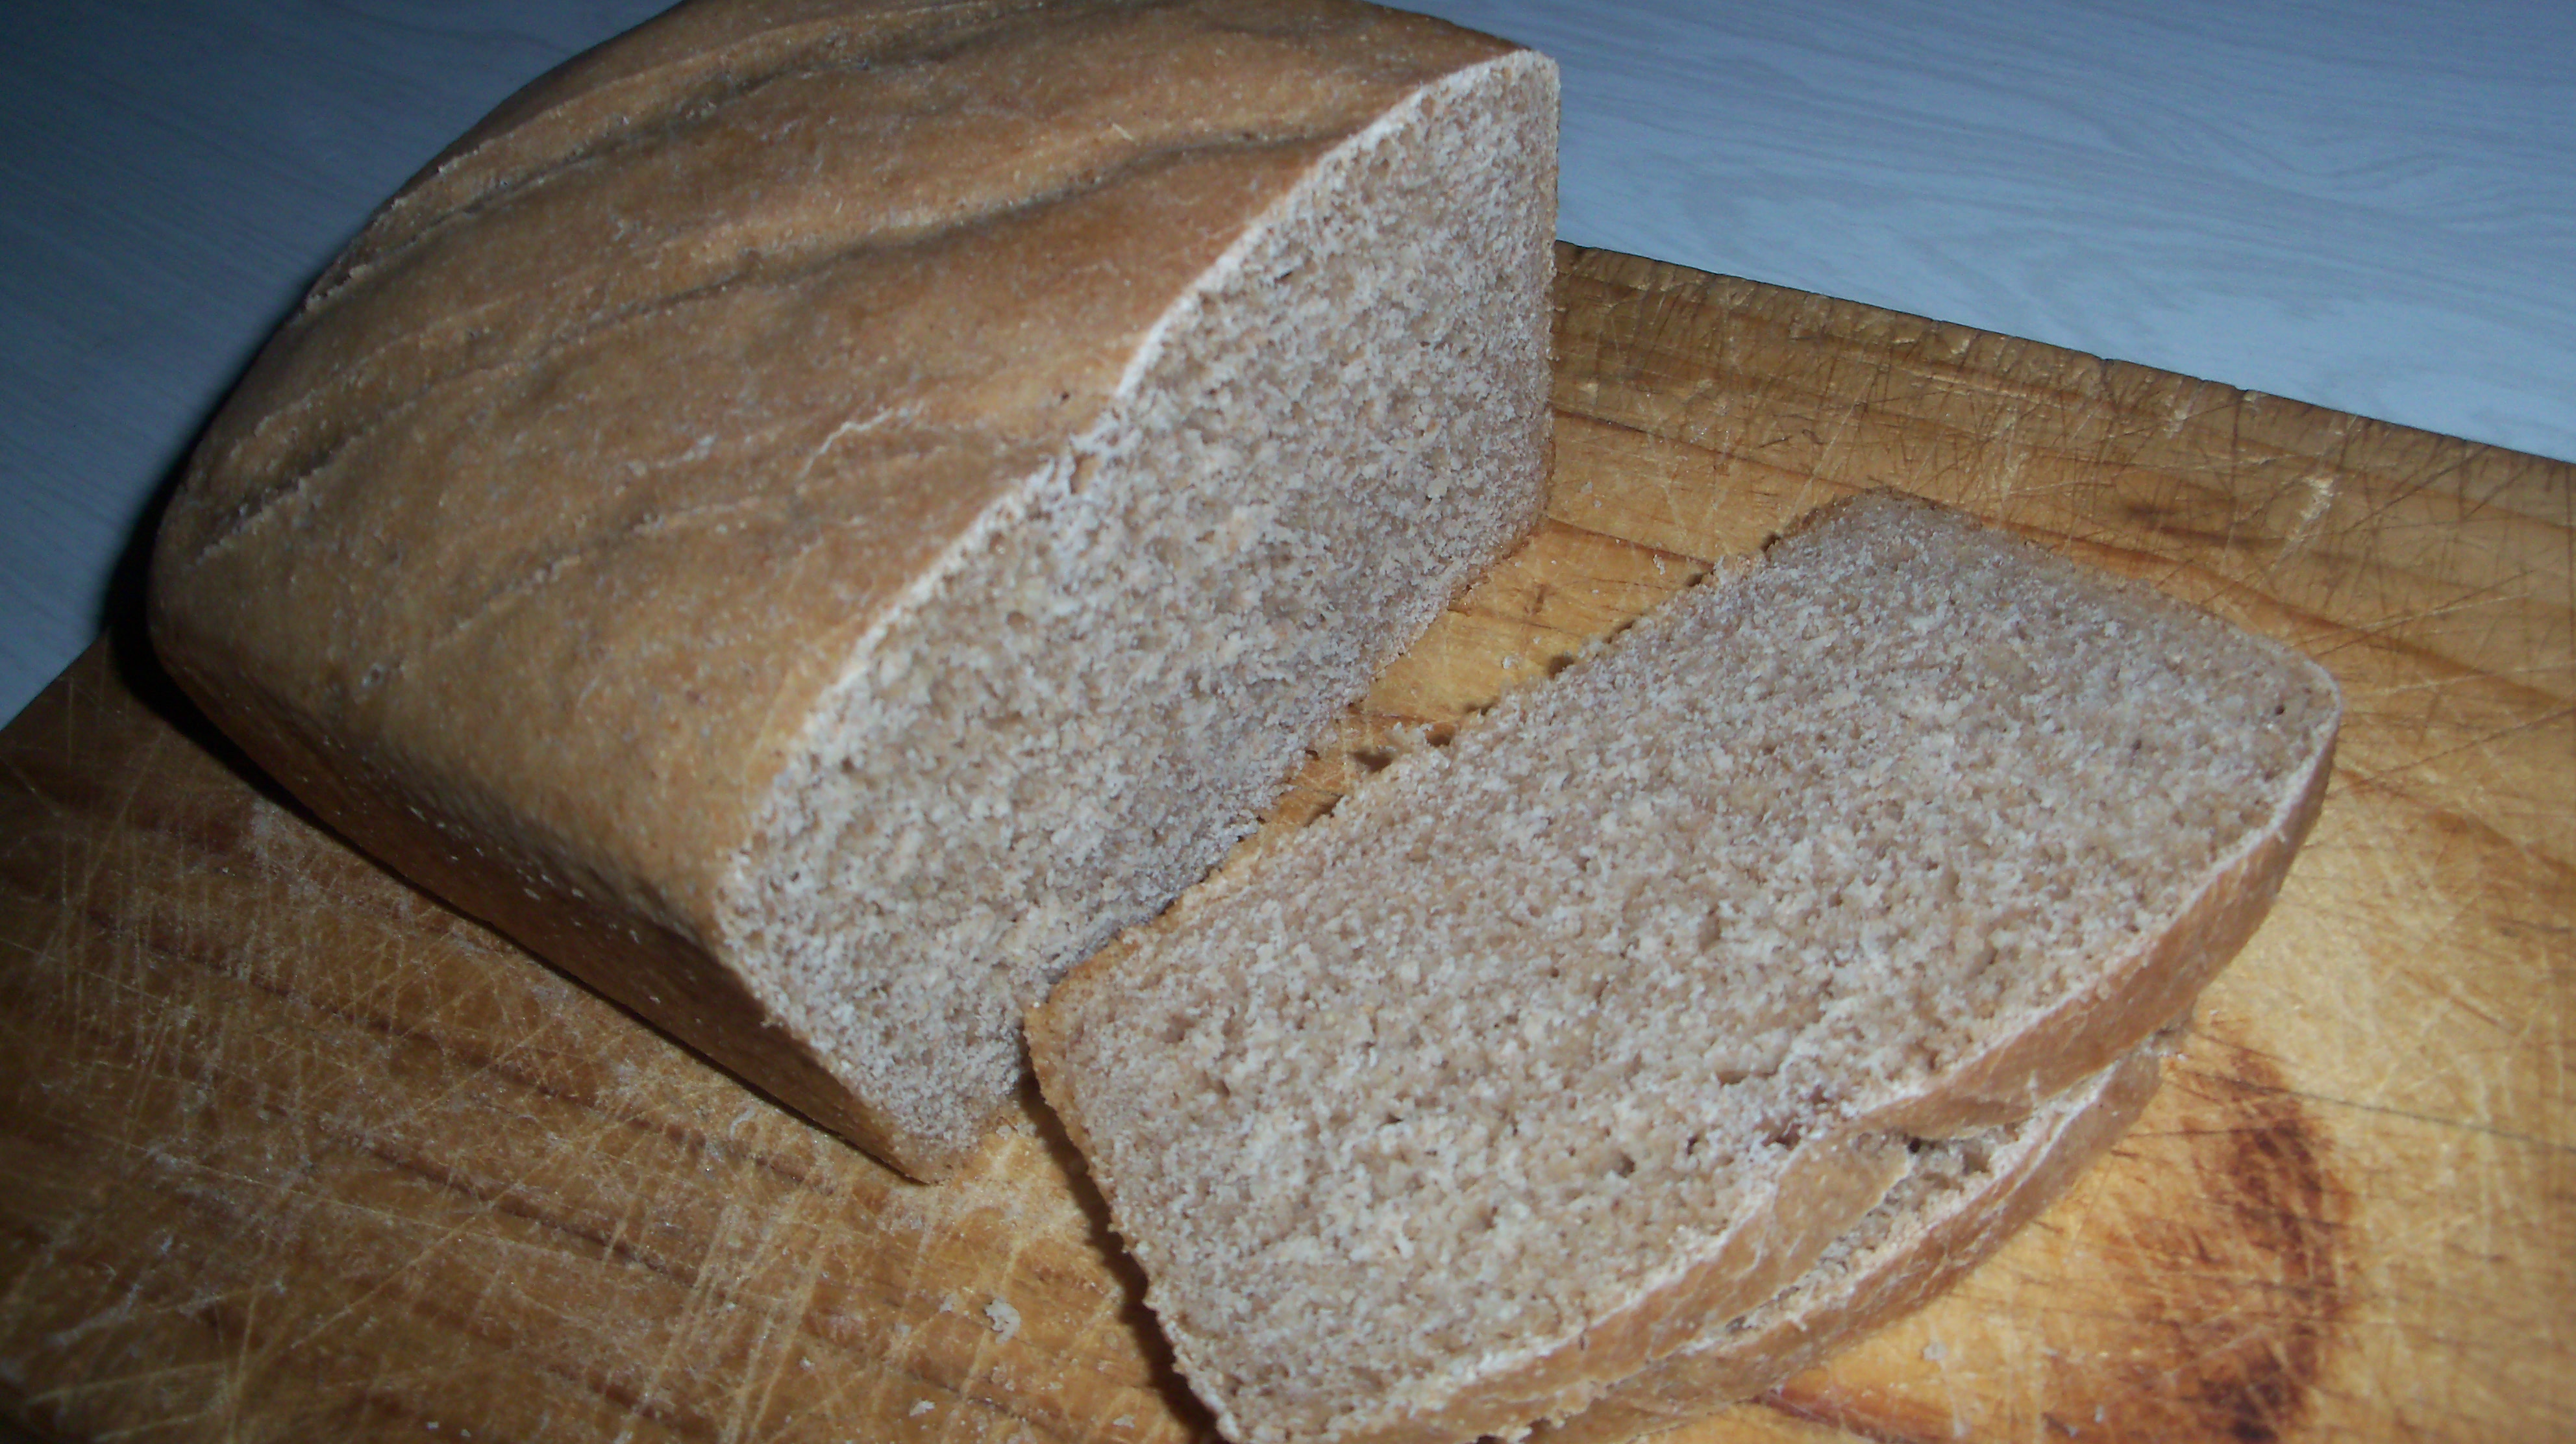
The first day, it is a bit tricky to cut the bread without breaking the slice but it improves soon and the following days, we can cut very thin slices. I usually keep the heel to protect the sliced side and store back into the towel into the plastic bag and into the fridge (from day 2).
Our bread doesn’t need to be toasted to be delicious. This saves energy (toaster are hungry appliances, like an iron). The bread is also great toasted of course.

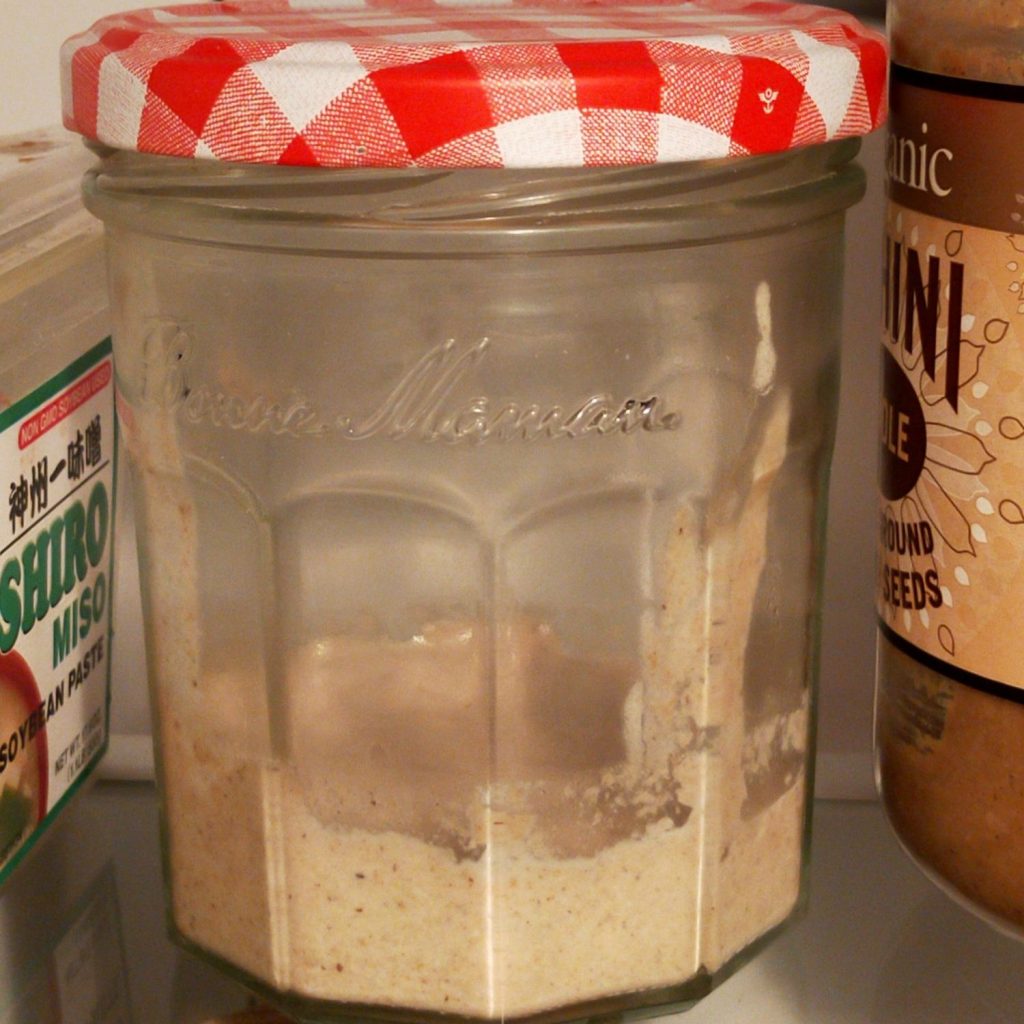
Sourdough
The sourdough is the start of the bread and never finishes!
Once you have it, either donated or self-started, sourdough lives on and improves forever. I keep it in the fridge, sometimes I draw a heart on the lid!
The sourdough doesn’t need feeding when it’s stored in the fridge, it is dormant and can keep a couple of month. I just need to wake it up on the day I make bread as described above. I also save a spoon of sourdough in the freezer, in case I forget to keep some while making bread!
To start a sourdough
Sourdough has a reputation to do be difficult but it’s not, it’s just flour and water! However it needs the right conditions to start, it took me two attempts. Here is what worked:
1- Put half a glass of organic white flour in a bowl and fill with lukewarm water.
2- Stir well. Cover with fabric.
3- Leave for 3 days without stirring, at fairly constant warm temperature; I did mine in summer at 22-24 degrees.
4- It will ferment and start bubbling (if it stinks, it’s rotten and failed, try again!)
5- It is ready to be used in a bread, and start the cycle of keeping some for the next bread. The first bread will not be fantastic but will improve each time.
It may be easier to get sourdough starter from a friend or ask me ;)
What are your bread experiences?